Clarobi WooCommerce Helper Installation
Follow the steps bellow in order to install Clarobi plugin for WooCommerce.
Step 1 - Installation
Add Clarobi plugin for WooCommerce
Recomanded method
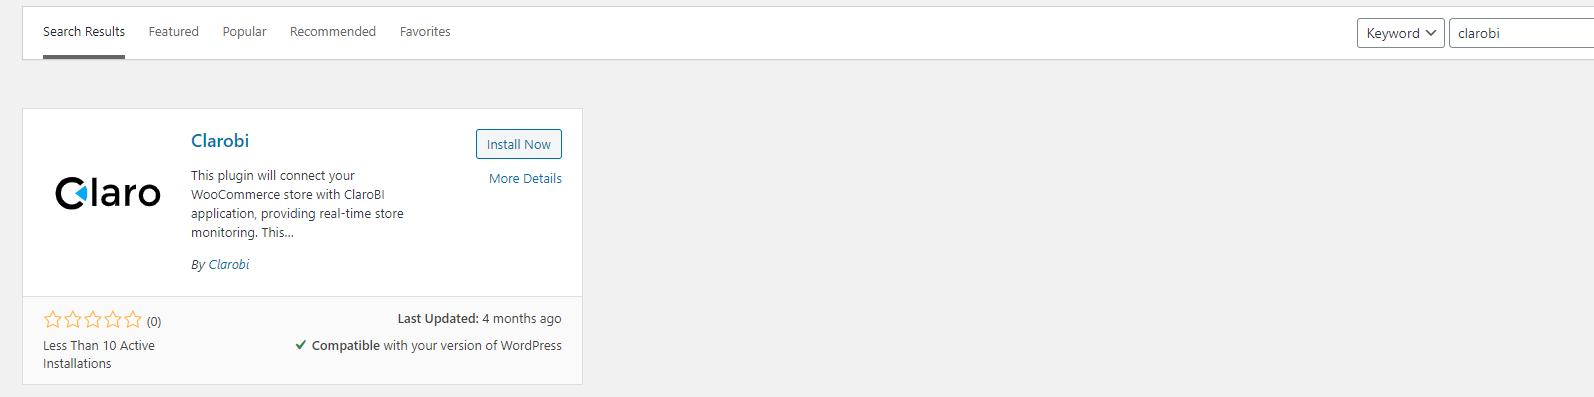
Go to WordPress Admin and under Plugins → Add new and in the search box type 'clarobi'.
Find our plugin and click Install Now.
Download zip installation
Download the module by clicking here.
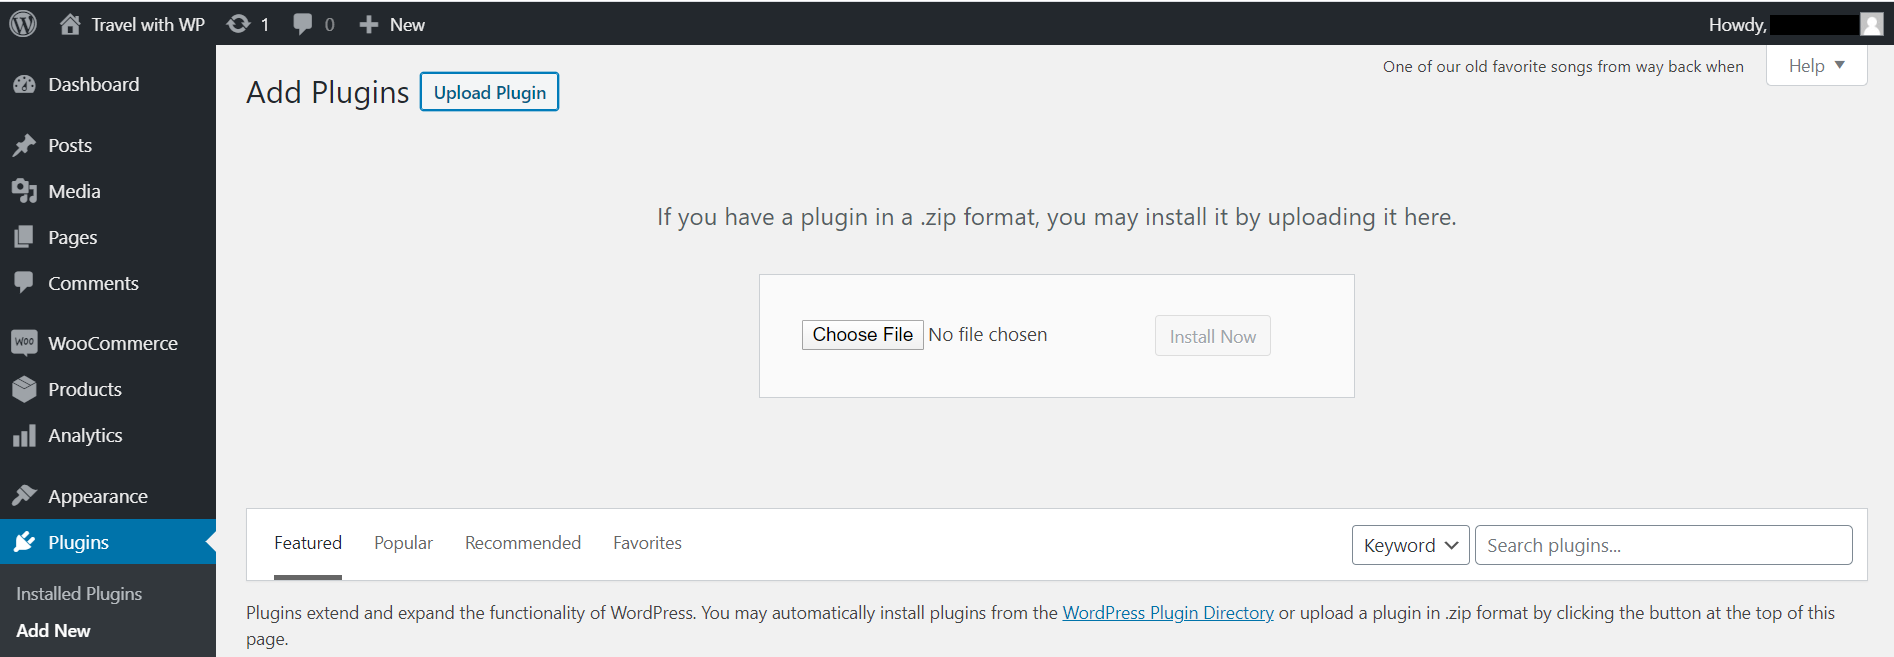
Login into WordPress Admin and go to Plugins → Add new, click Upload Plugin and choose the plugin zip folder.
Repo installation
Go to Clarobi pluing repository for WooCommerce.
From here you can choose to clone the repository or download the zip package.
Clone the repository:
Download the zip package:
- Click Clone or download → Download ZIP
- After the download is complete, unzip the folder and rename it to clarobi
- Zip back the plugin folder.
- Login into WordPress Admin and go to Plugins → Add new, click Upload Plugin and choose the plugin zip folder.
Step 2 - Configuration
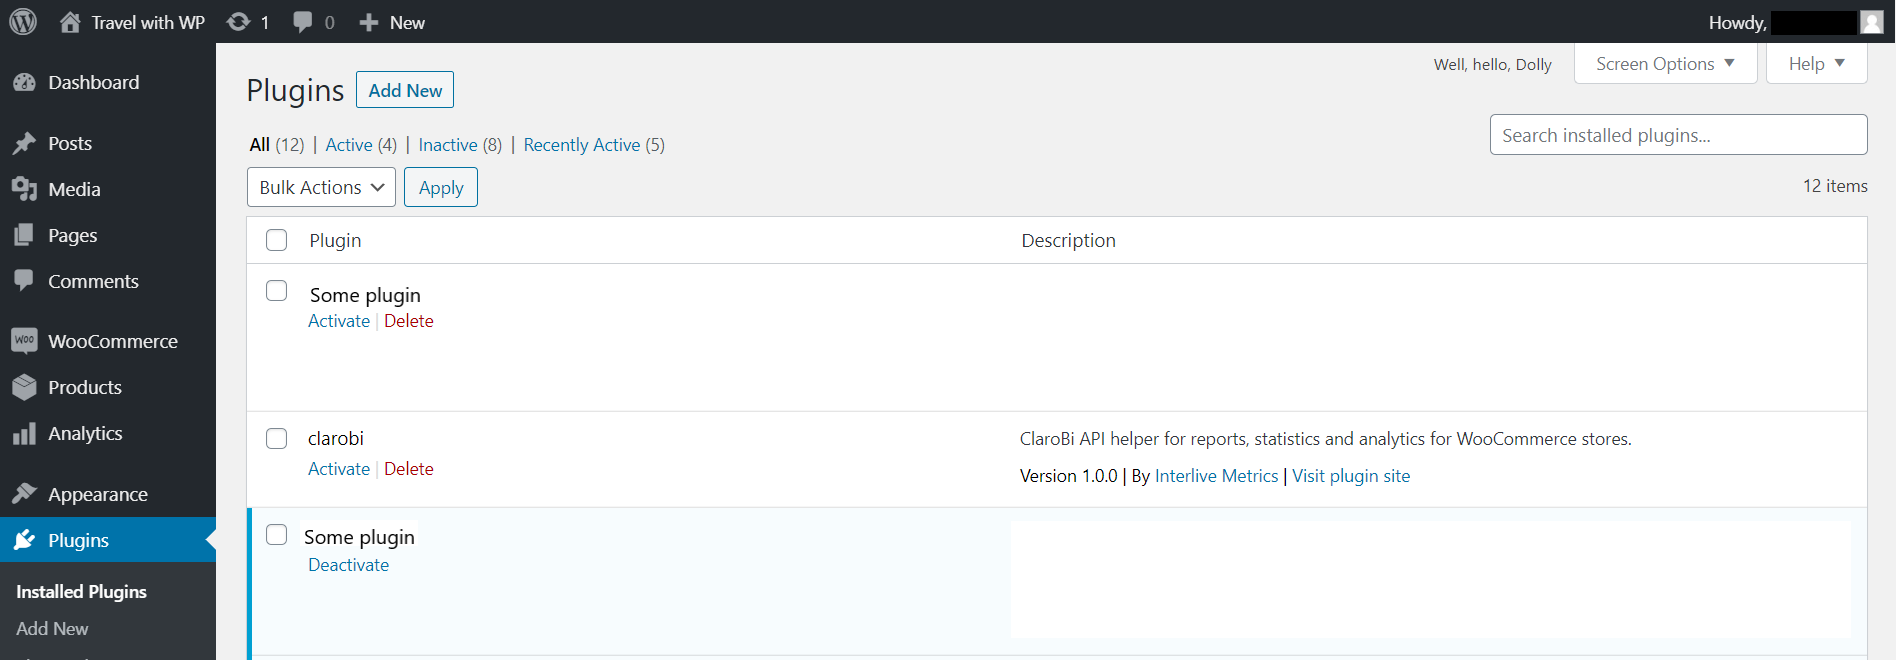
Go to WordPress Admin and under Plugins → Installed Plugins find the clarobi plugin.
Click Activate under the name of the plugin.
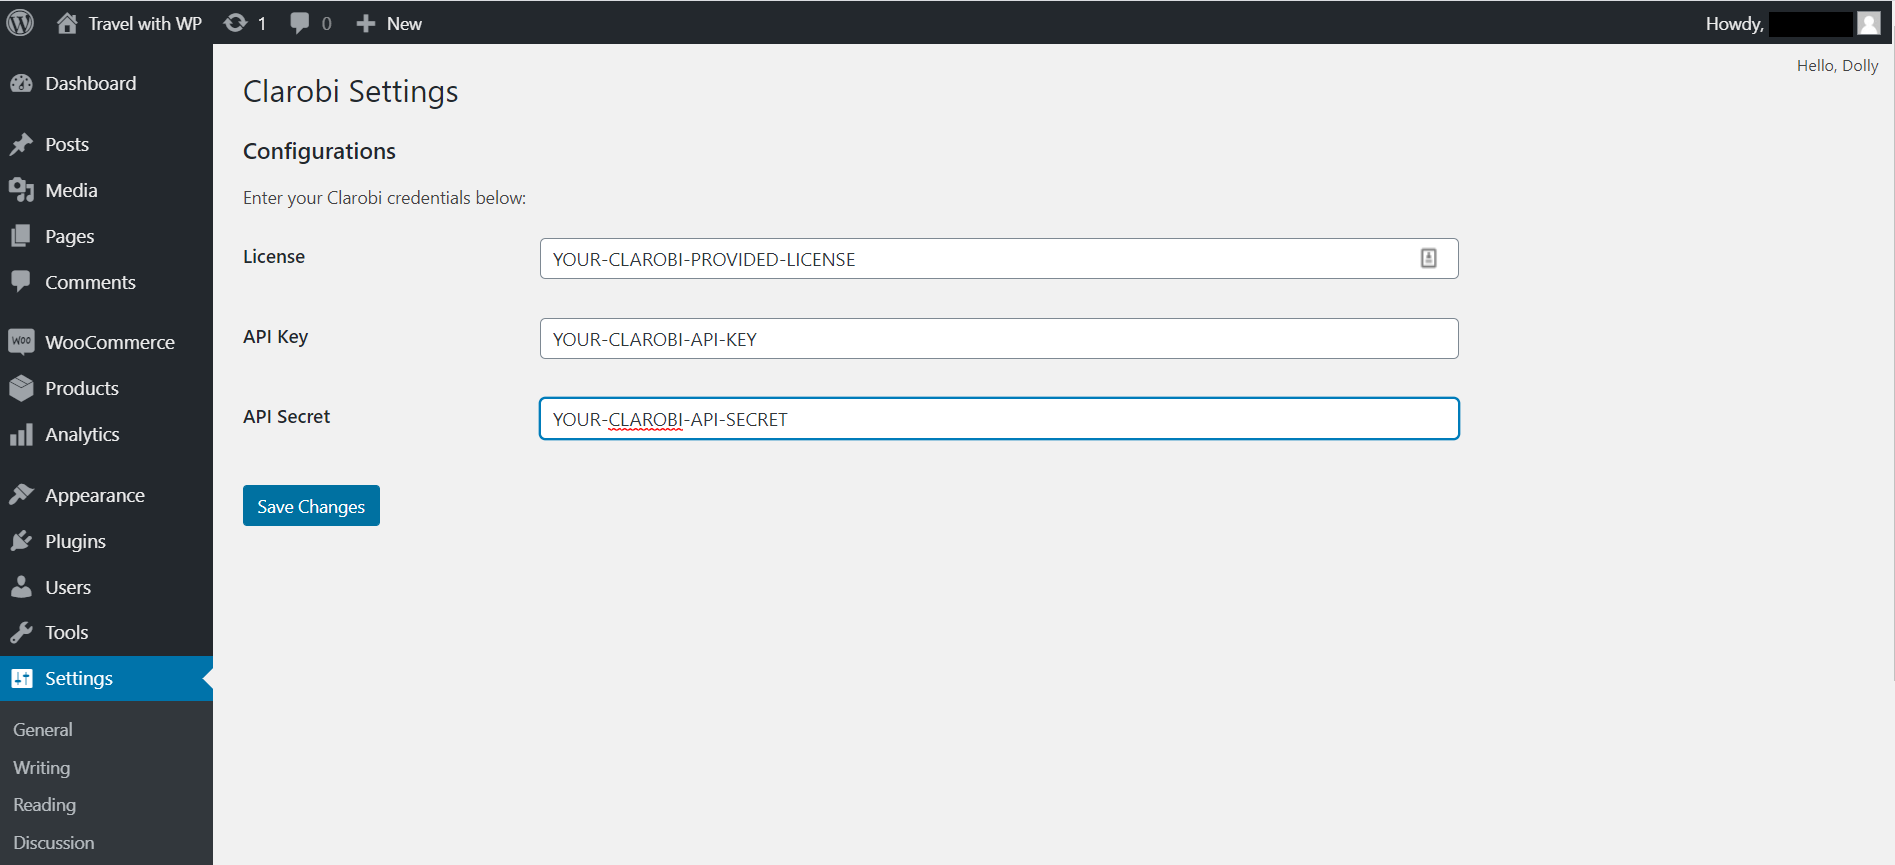
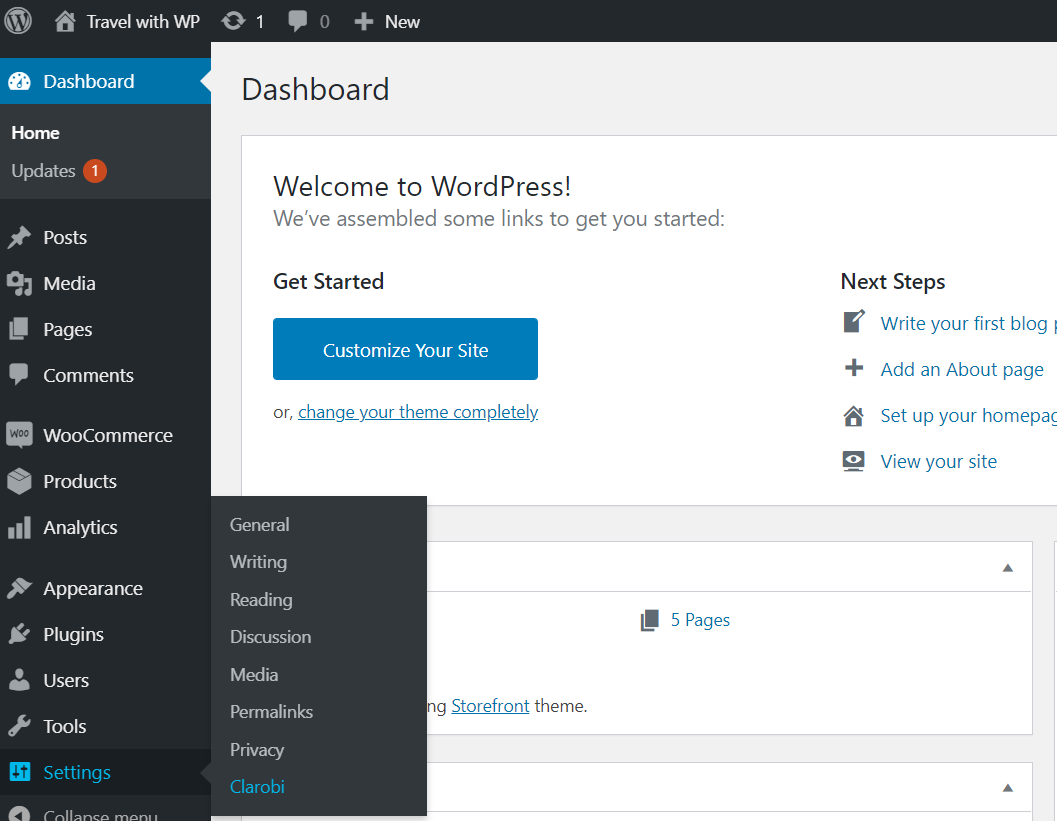
After the plugin was activated, go to Menu → Setting → Clarobi and click it to open plugin's configuration page.
Step 3 - Enter Credentials
Enter your Clarobi Credentials in the Clarobi module configuration form:
- Enter your site credentials including License Key, Api Key and Api Secret.